
Netlify
Add to favorites
Deploy to production using Netlify
React Hooks Handbook
1
Intro to React Hooks
3:39
2
Create your first React app
4:23
3
React Component
2:54
4
Styling in React
5:06
5
Styles and Props
2:22
6
Understanding Hooks
3:21
7
useState Hook
2:54
8
useEffect Hook
3:41
9
useRef Hook
3:00
10
Props
3:11
11
Conditional Rendering
4:21
12
Load Local Data
4:04
13
Fetch Data from an API
5:40
14
Toggle a state
4:05
15
useInput Hook
6:04
16
Gatsby and React
6:44
17
NextJS and React
5:24
18
React TypeScript Part 1
8:19
19
React TypeScript Part 2
7:35
20
useScrollPosition Hook
4:26
21
useOnScreen hook
8:08
22
useContext Hook
8:32
23
Fragments
2:43
24
Lazy Loading
4:05
25
React Suspense
3:13
26
Environment Variables
4:43
27
Reach Router
5:31
28
URL Params
4:04
29
SEO and Metadata
6:47
30
Favicon
3:03
31
Dynamic Favicon
2:14
32
PropTypes
3:54
33
Custom PropTypes
3:58
34
useMemo Hook
4:05
35
forwardRef Hook
3:28
36
Handling Events
5:44
37
Spread attributes
3:35
38
useMousePosition Hook
4:55
39
useReducer with useContext Part 1
7:33
40
useReducer with useContext Part 2
6:48
41
useReducer with useContext Part 3
5:43
42
Netlify
5:08
43
Gatsby Cloud
6:19
44
Gatsby Plugin Image
8:11
45
useOnClickOutside Hook
6:32
46
useWindowSize Hook
4:14
47
usePageBottom hook
4:48
48
useLocalStorage Hook
5:27
49
Three.js in React Part 1
17:33
50
Three.js in React Part 2
11:18
What is Netlify?
Netlify is an online platform allowing developers to ship their applications. A lot of frameworks are supported by Netlify including React, Gatsby, NextJS, Vue, Angular and Jamstack. In only three easy steps, you can deploy your applications in a few minutes. Automatic deployments are also available, meaning that you can trigger deploys from a specific branch of your repository.
 Their free tier is pretty generous, as you can have an unlimited number of websites in your account, with 300 build minutes per month and a bandwidth of 100GB per month. You can explore their other pricing plans on their pricing page.
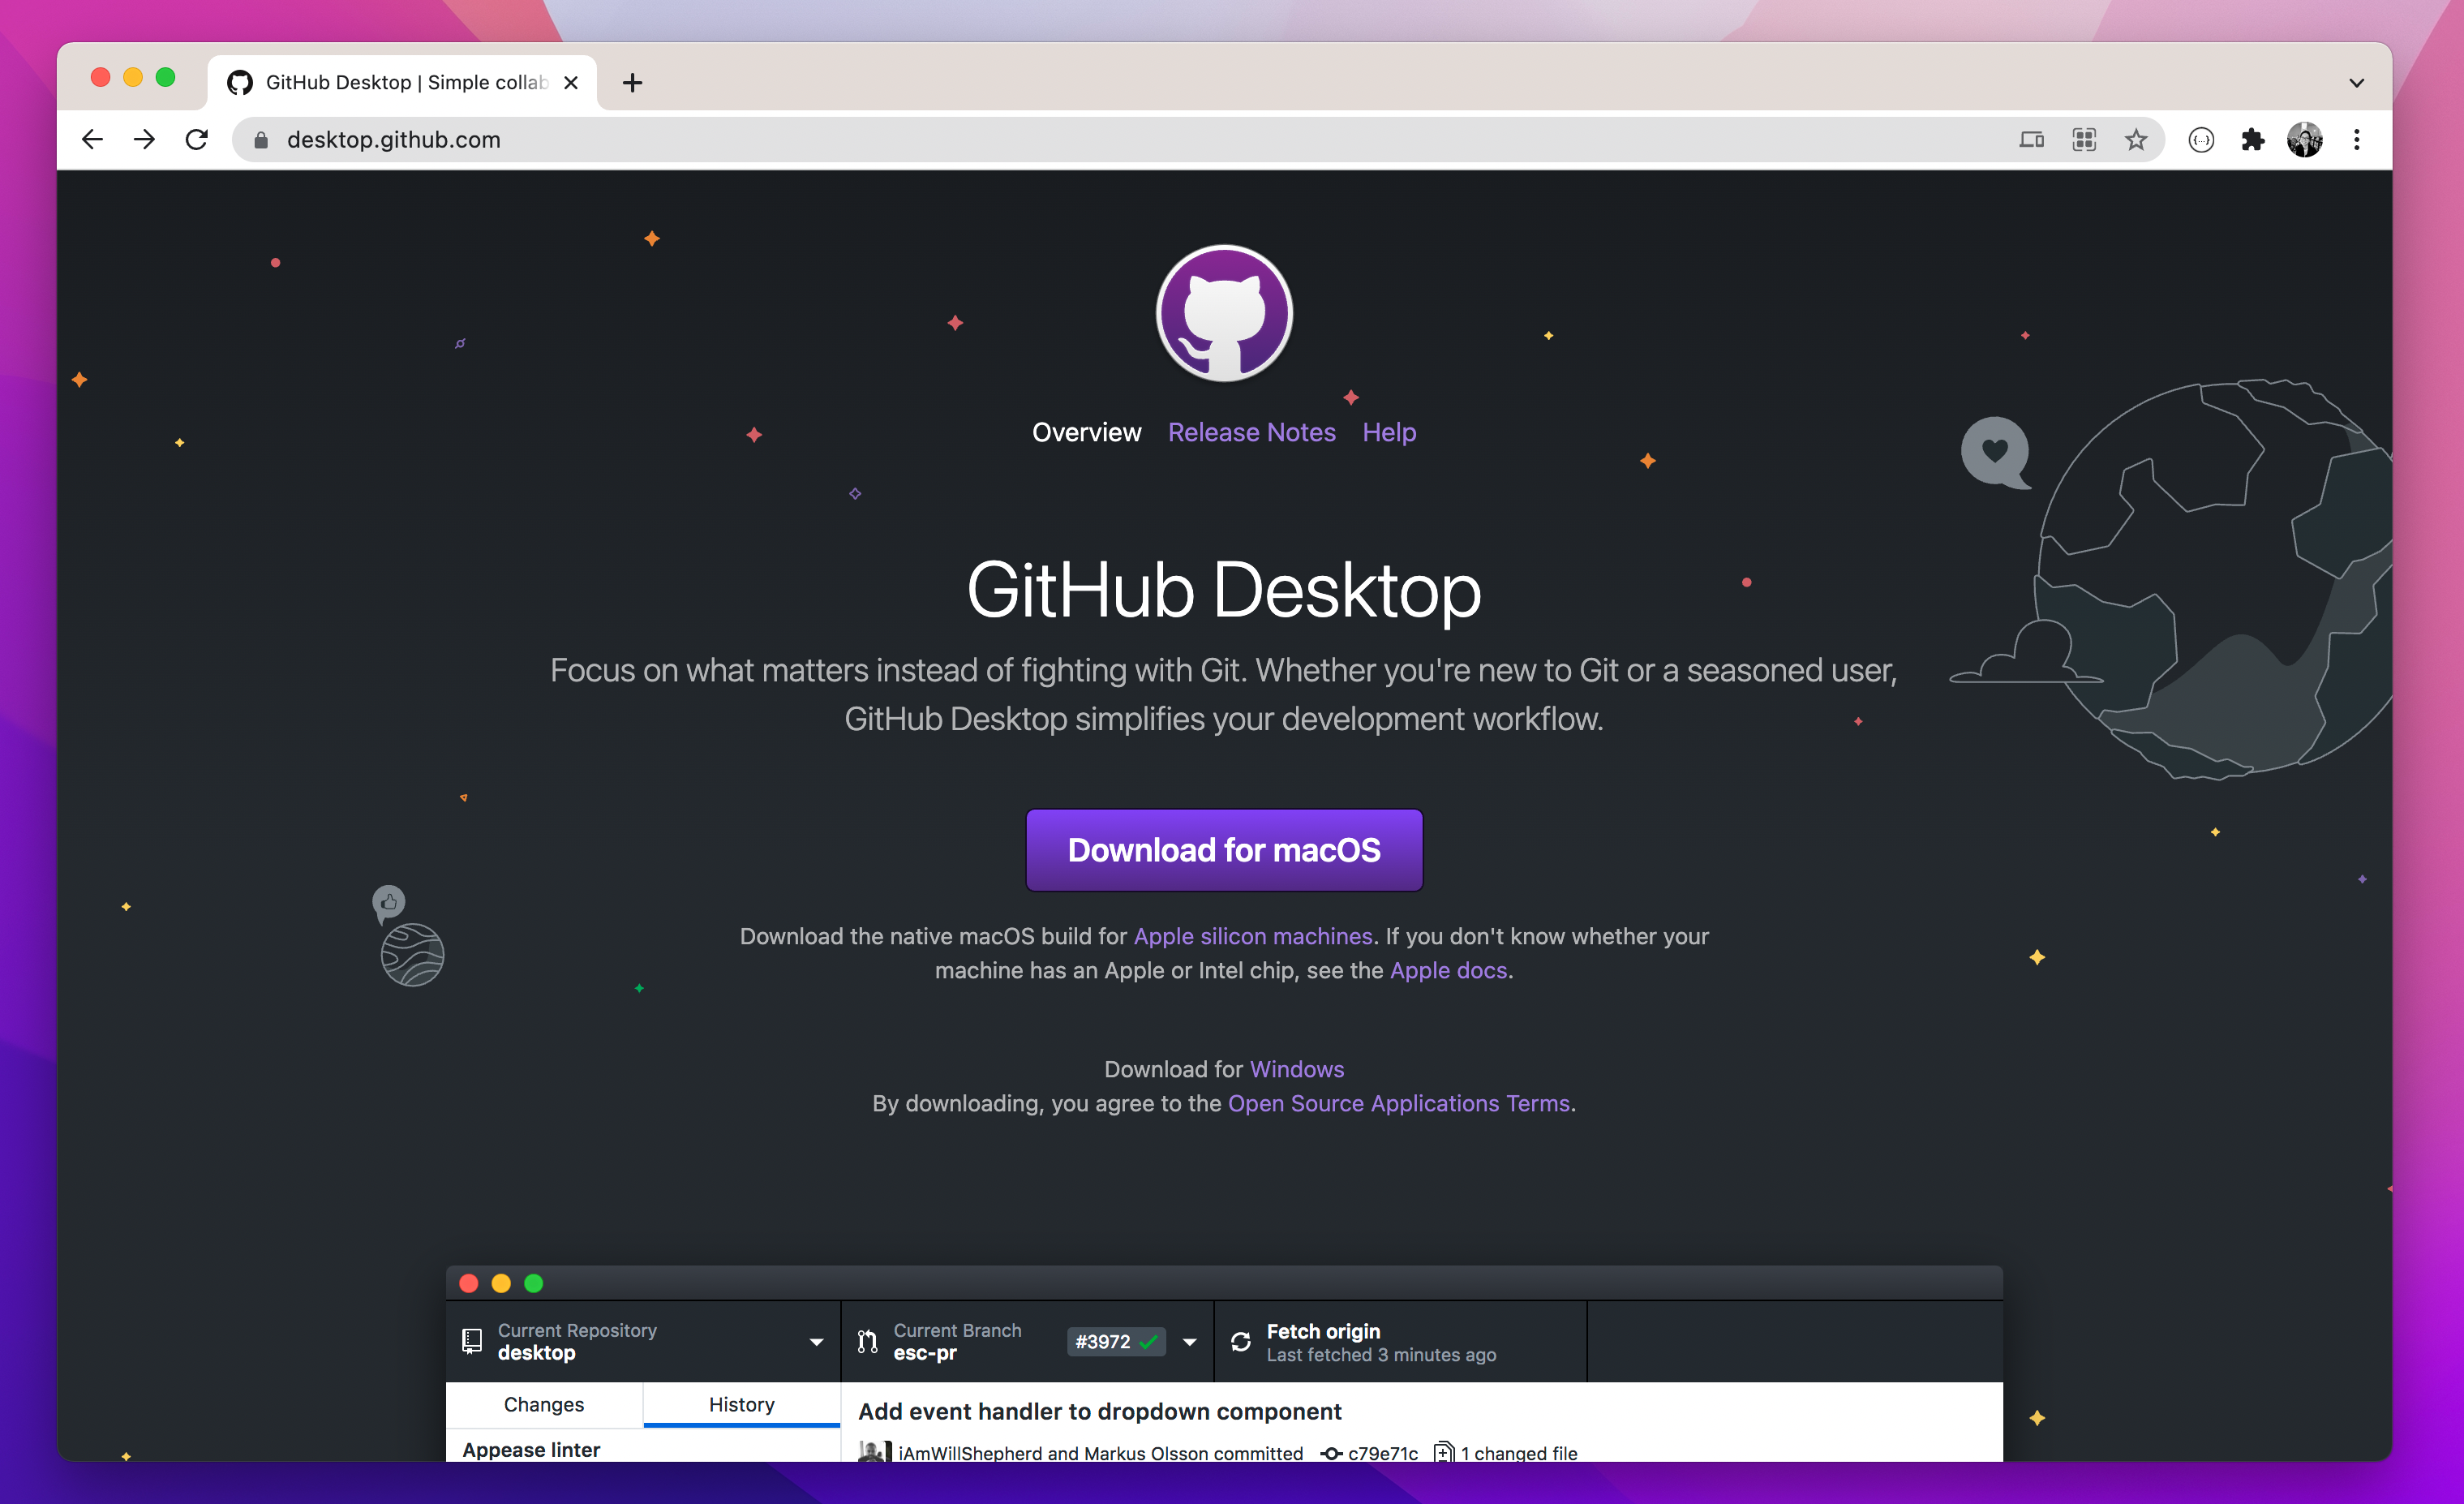
Push your project to Github
First things first, you need to make sure that your project is on Github, if you want to enable automatic deploys from a branch. If your project is already pushed to Github, skip this step. The easiest way to push a project to Github is with Github Desktop, as it requires no coding and no use of the Terminal. Head over to Github Desktop and download their desktop application. Follow the instructions in their documentation to connect your Github account with Github Desktop and creating your first repository.
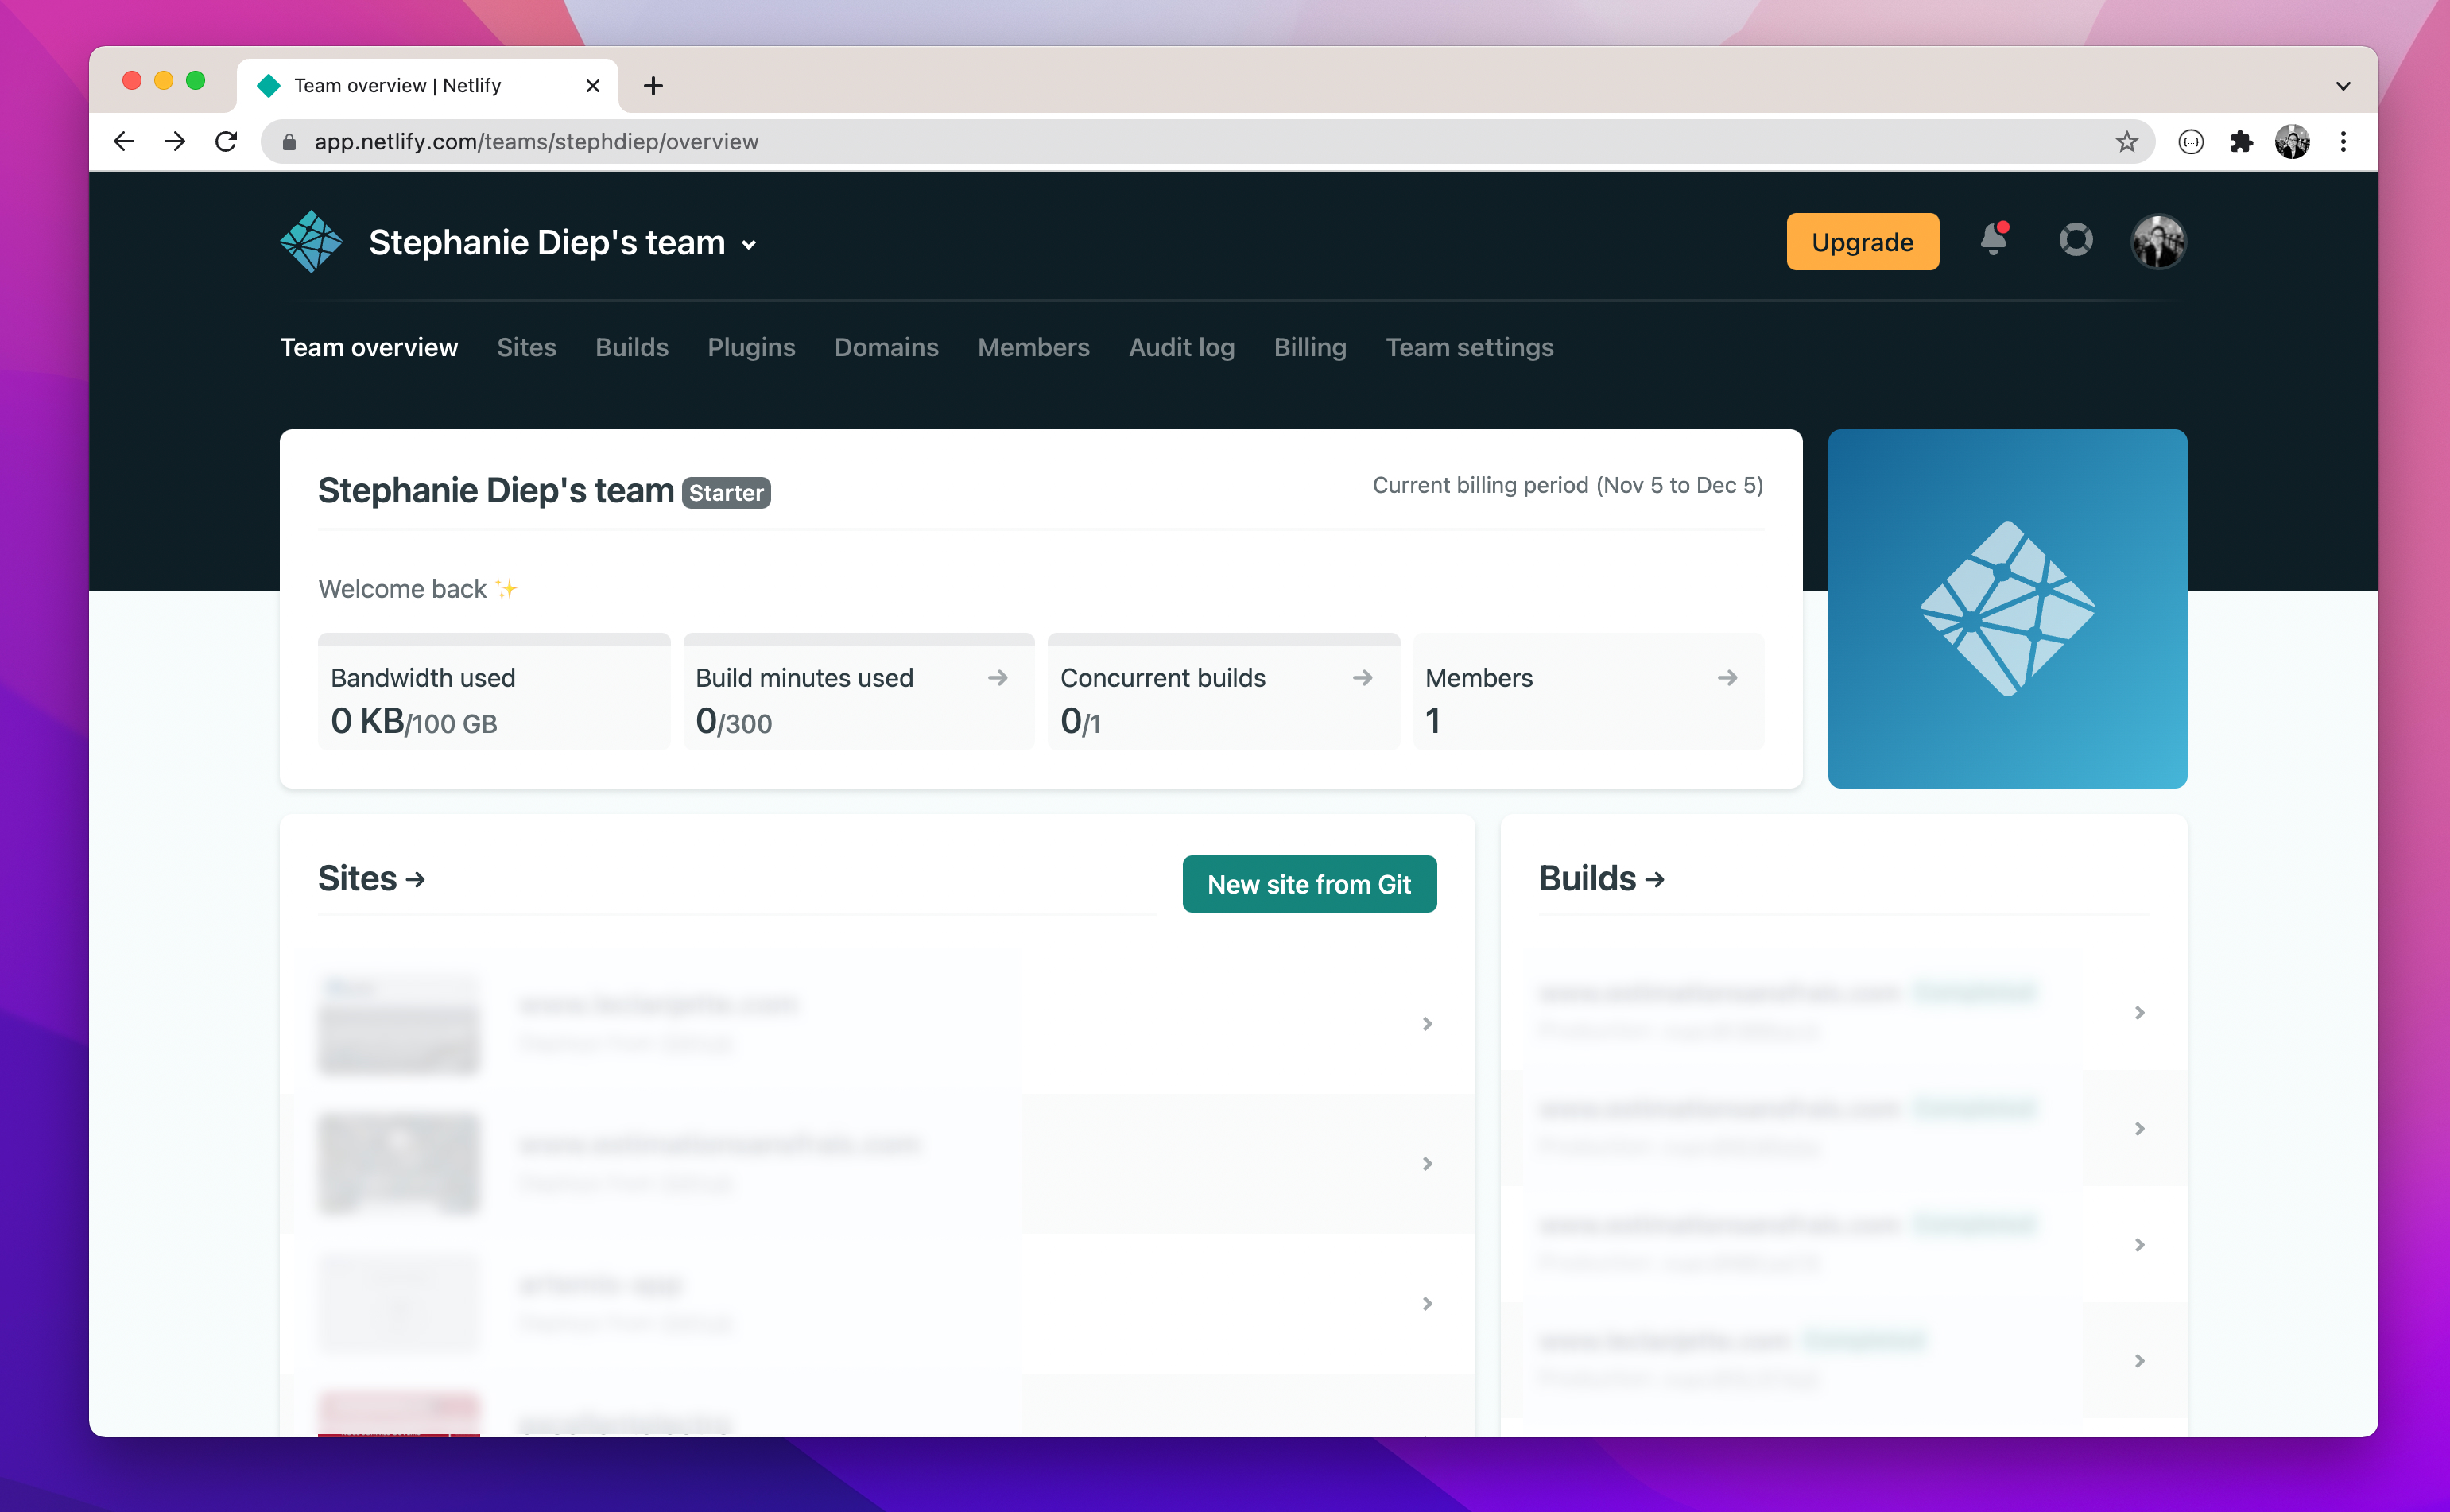
Create a Netlify Account
Now that our project is on Github, we can create our Netlify account. Go to Netlify's sign up page and create your account. I suggest you to sign up with Github, as it'll be faster than creating one from an email address. Then, you should land on your dashboard. Click on the New site from Git green button in the Sites section.
 You'll see the three steps required to create a new site: Connect to a Git provider , Pick a repository , set up the Site settings, and deploy!
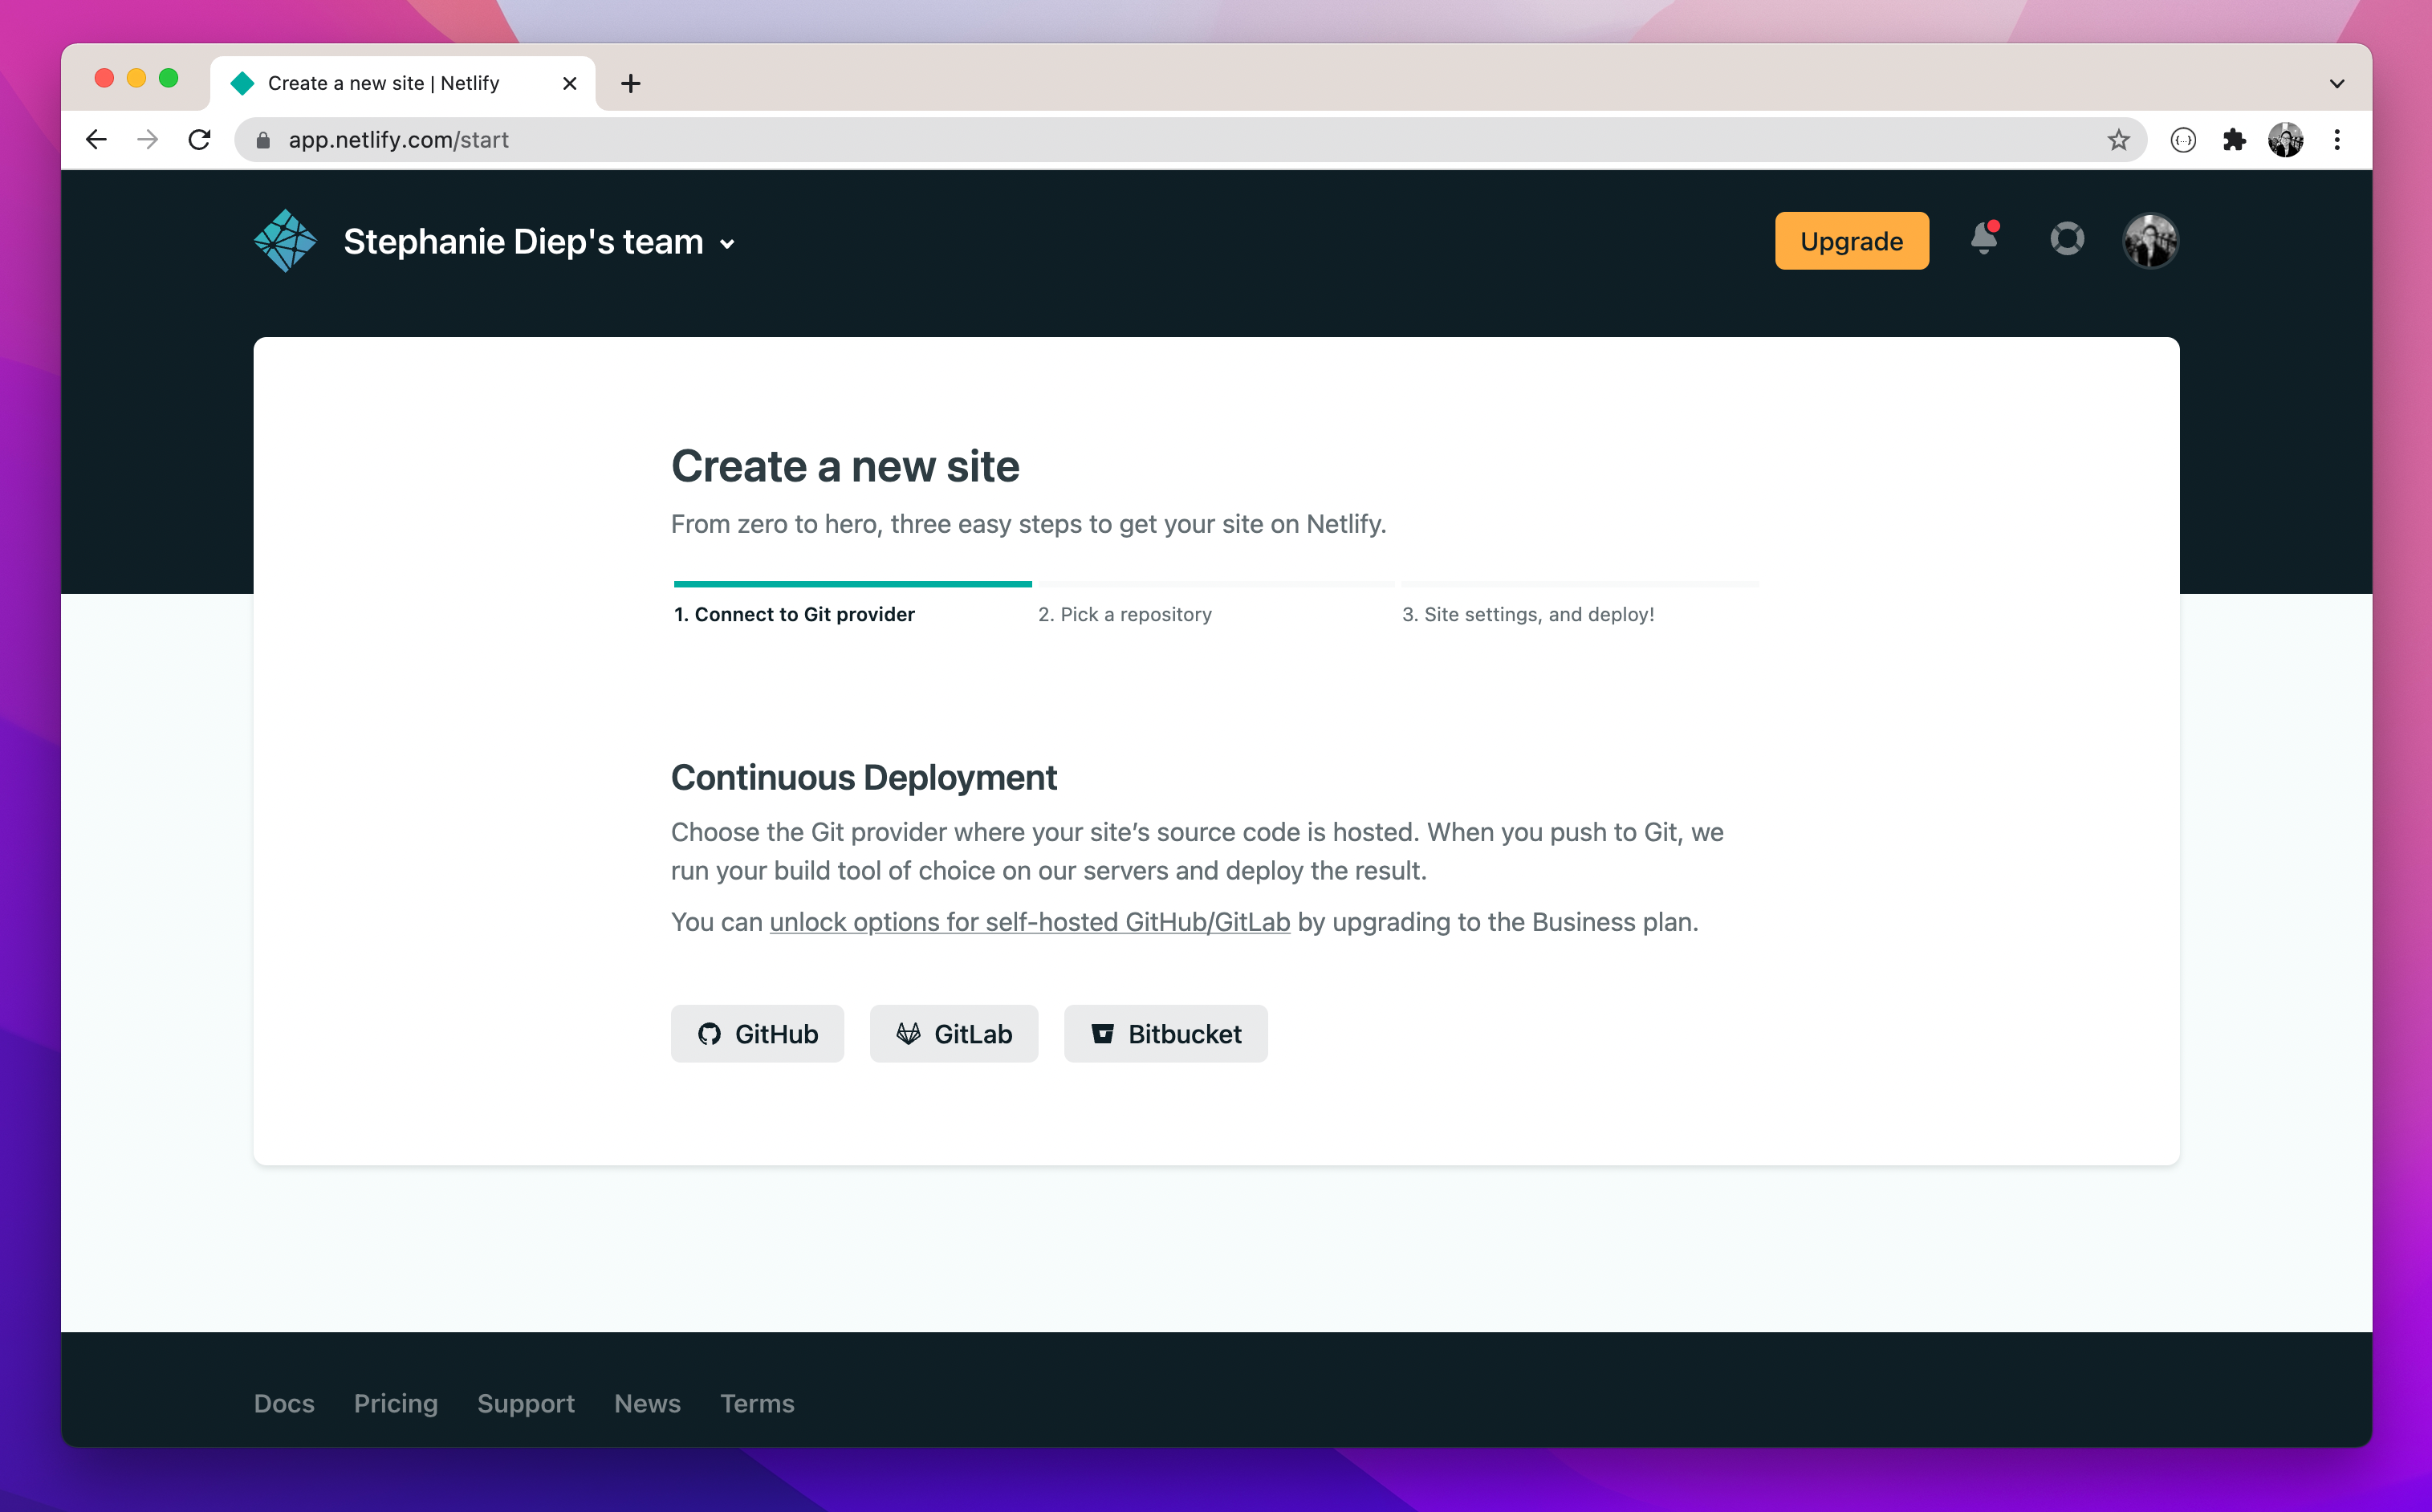
Connect Github to Netlify
Let's connect to Github. Click on the Github button. A window should pop up asking you to authorize Netlify to access your Github account. Authorize it.
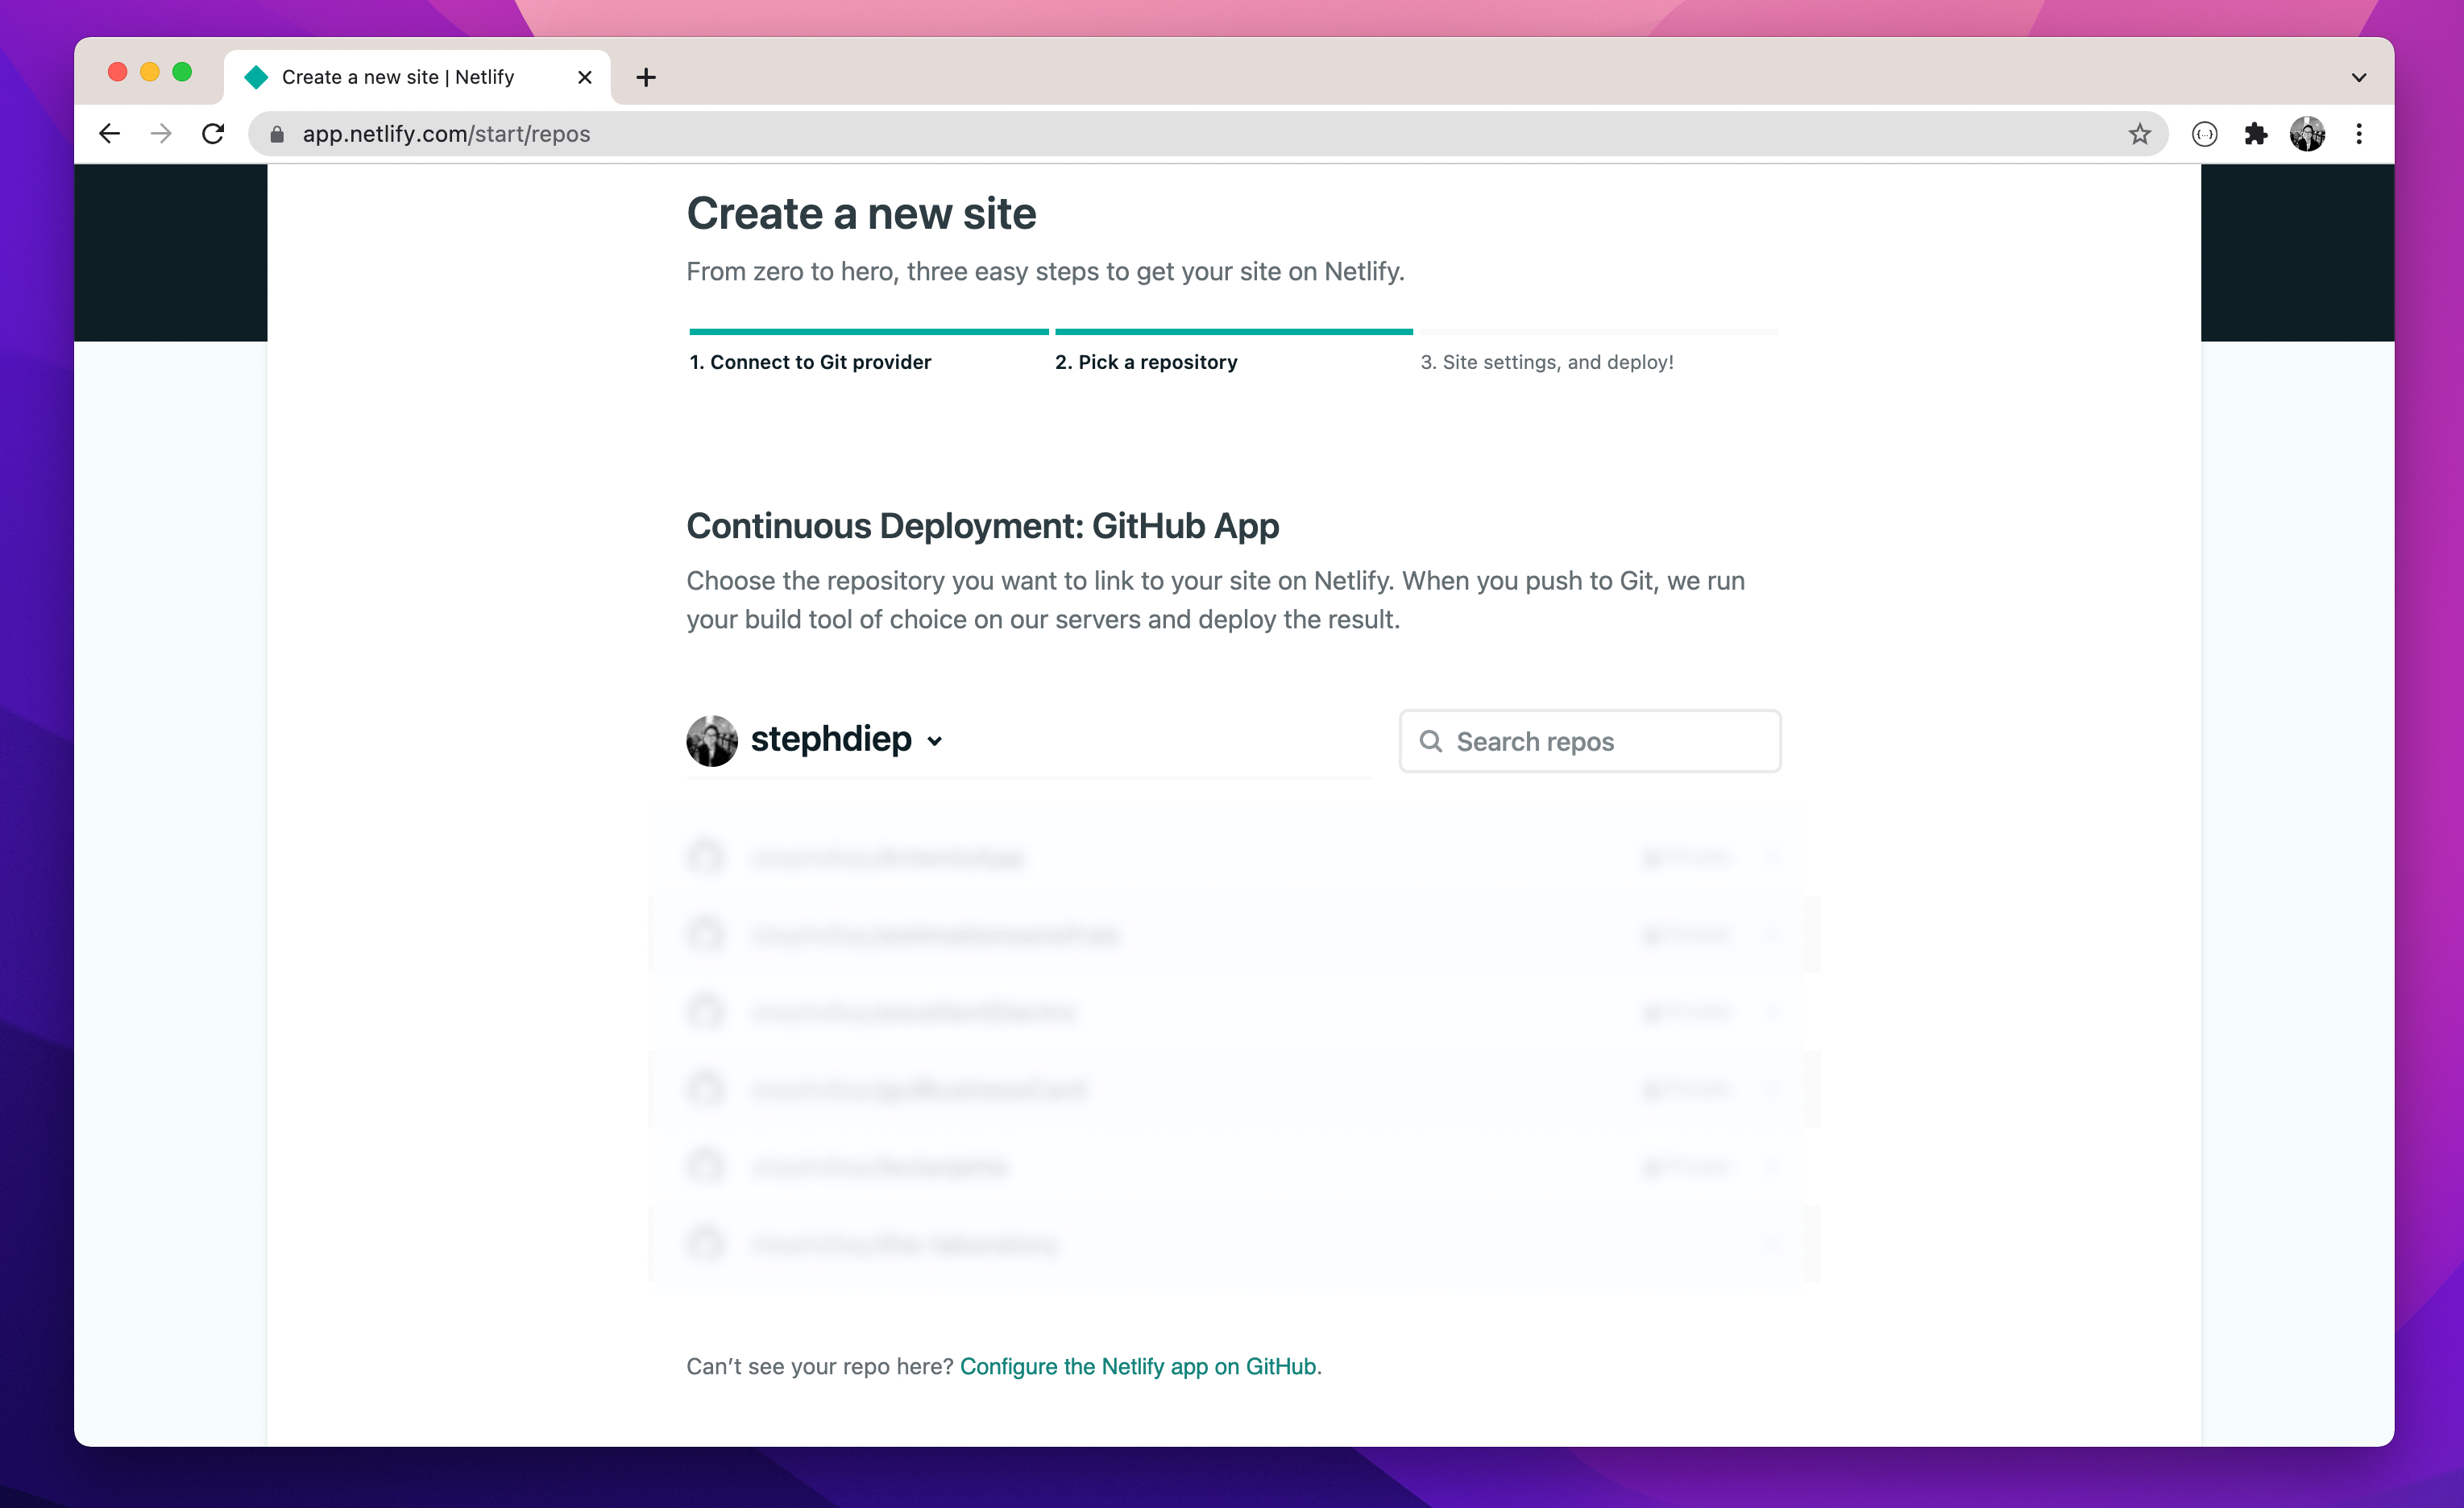
Pick a repository
When you come back to Netlify, you'll see a list of your repositories that Netlify has access to. If you don't see your repo in the list, click on the Configure the Netlify app on Github link, at the bottom, to grant Netlify access to your repo.
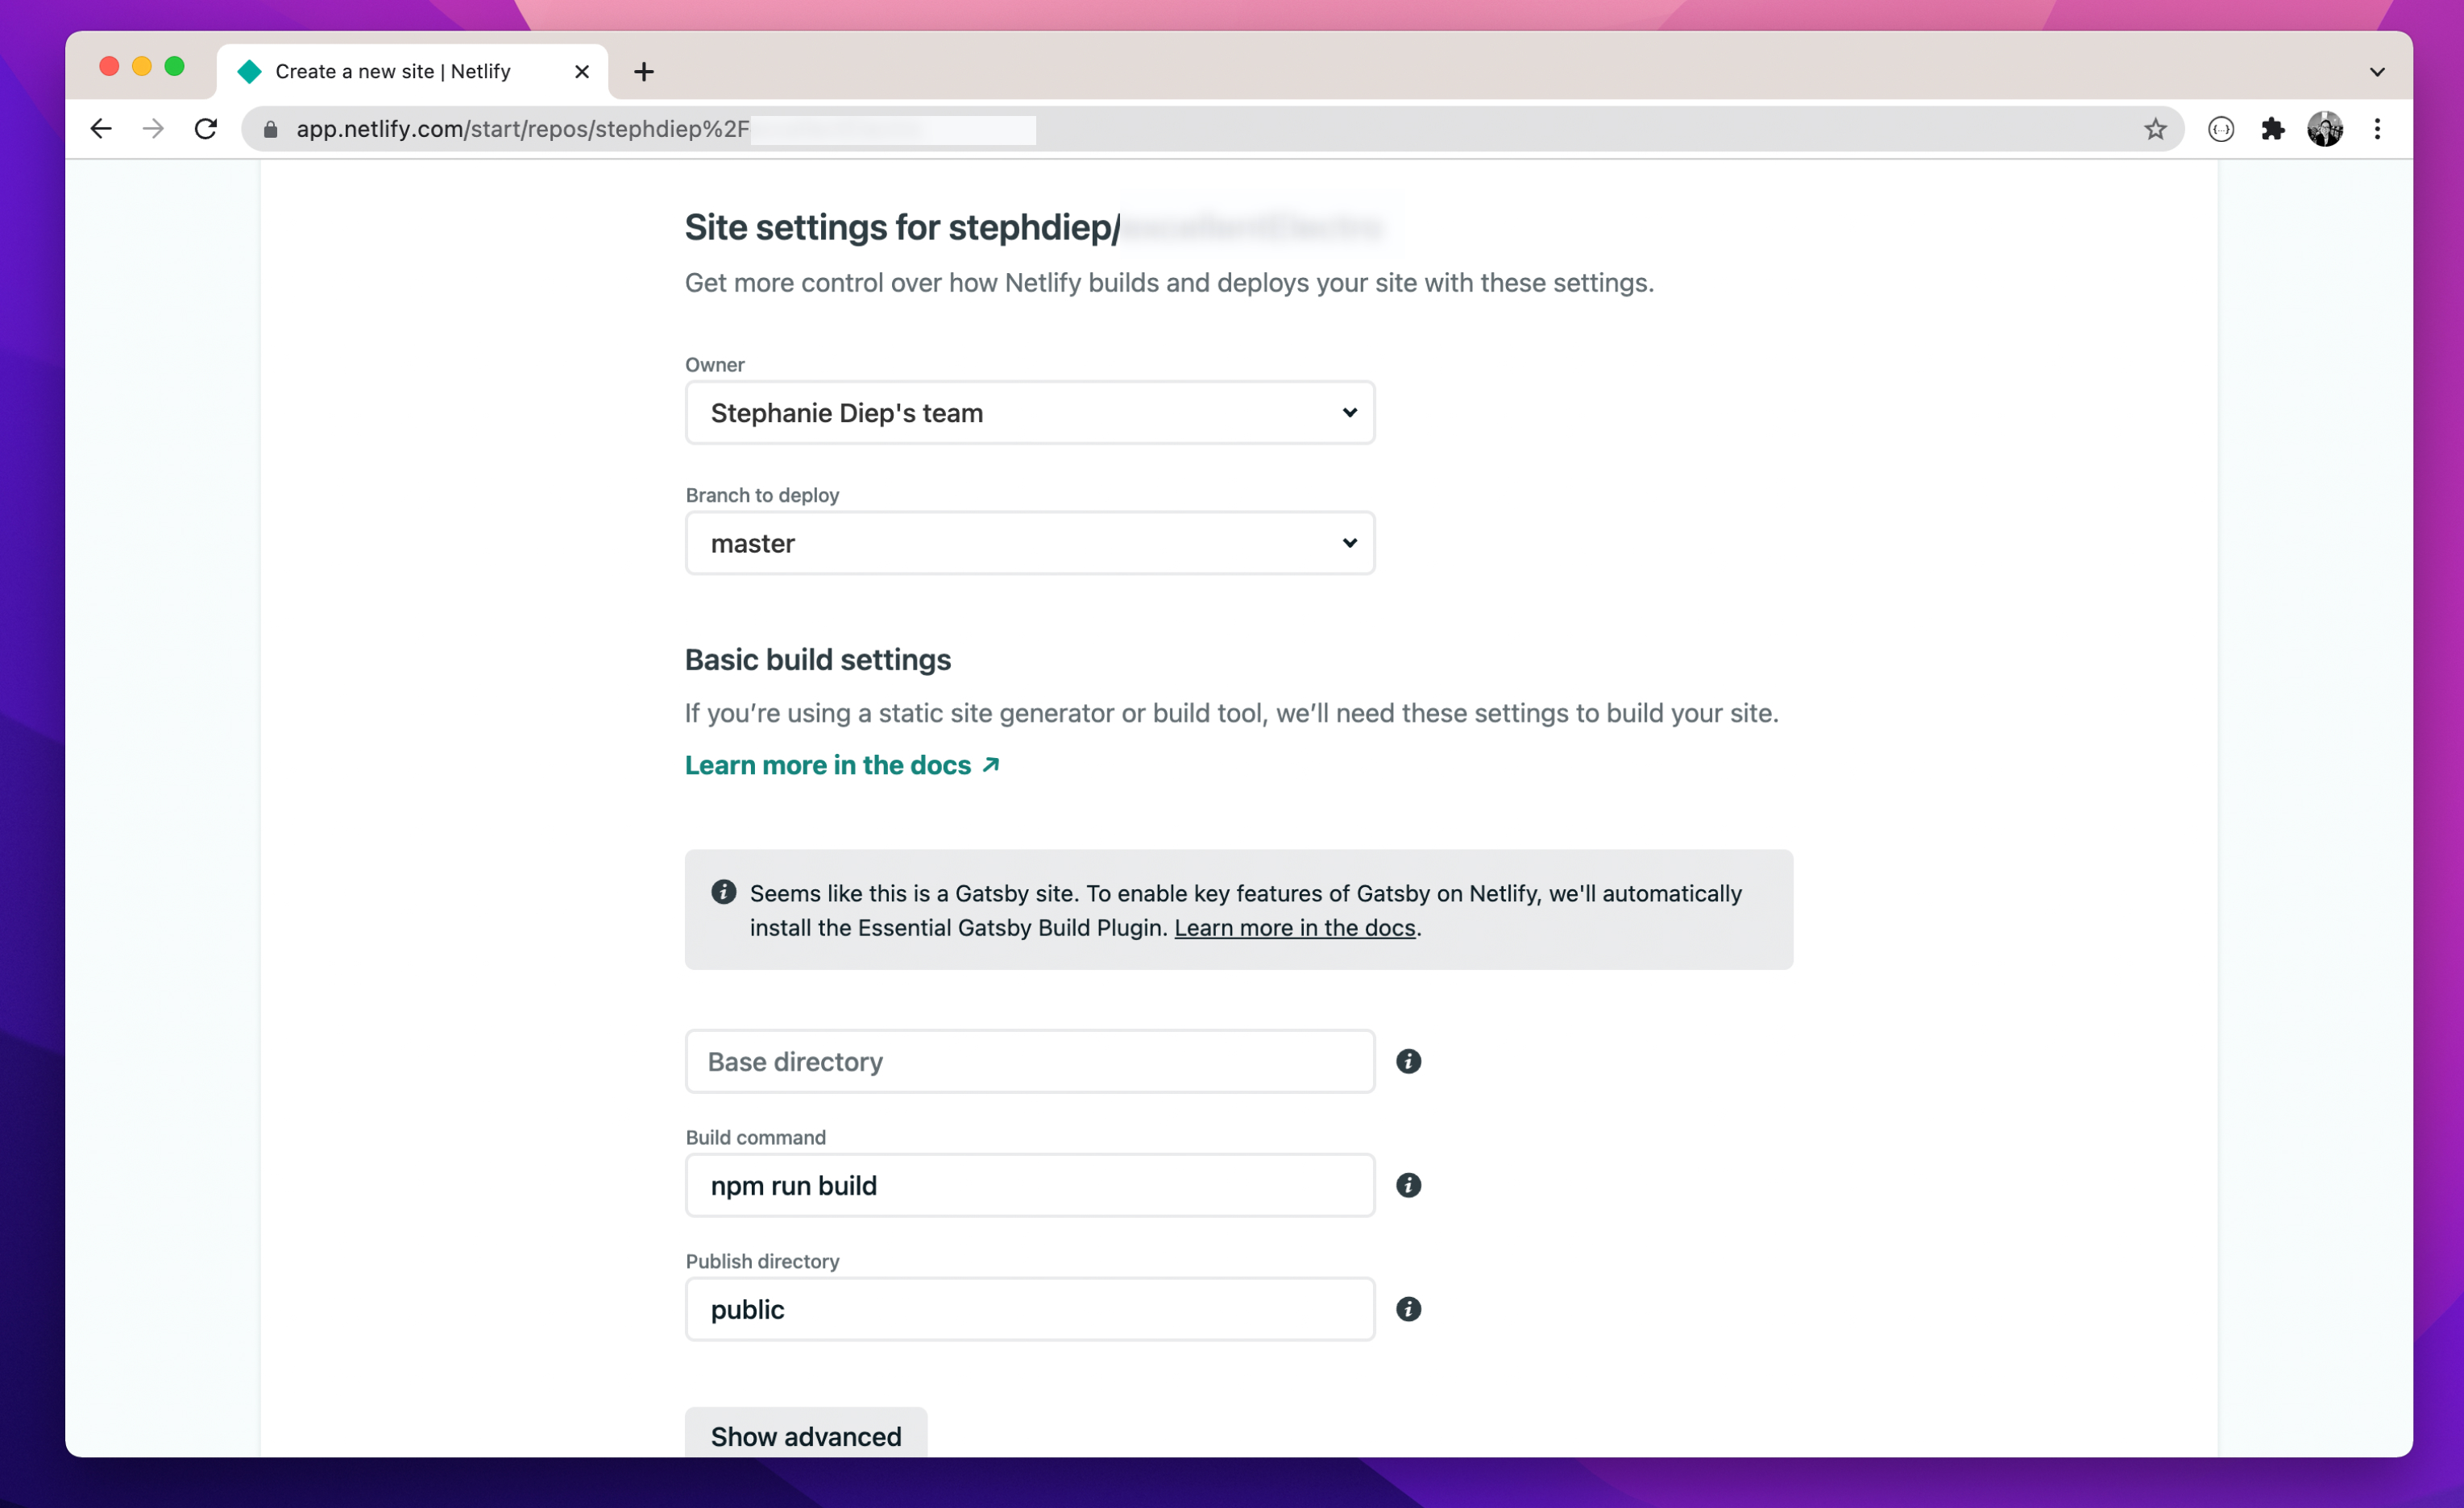
Site settings
Now, you can configure your site settings. I usually like to leave it as is, but if the branch you want Netlify to watch to trigger deploys to be something other than master , change it here. Don't worry, you can always change it later. For the rest of the settings, leave them as is. Once you're done, click on the Deploy button at the bottom. And now your website is live!
Site overview
Once deployed, you'll land on your Site overview dashboard. My website is called unruffled-spence-823749 , and I have the link right below my site name. This name is randomly assigned, and you can change it by going to Site settings > Site information > Change site name . Please note that if you change the name of your site, your app will still be accessible at your-site-name.netlify.app.
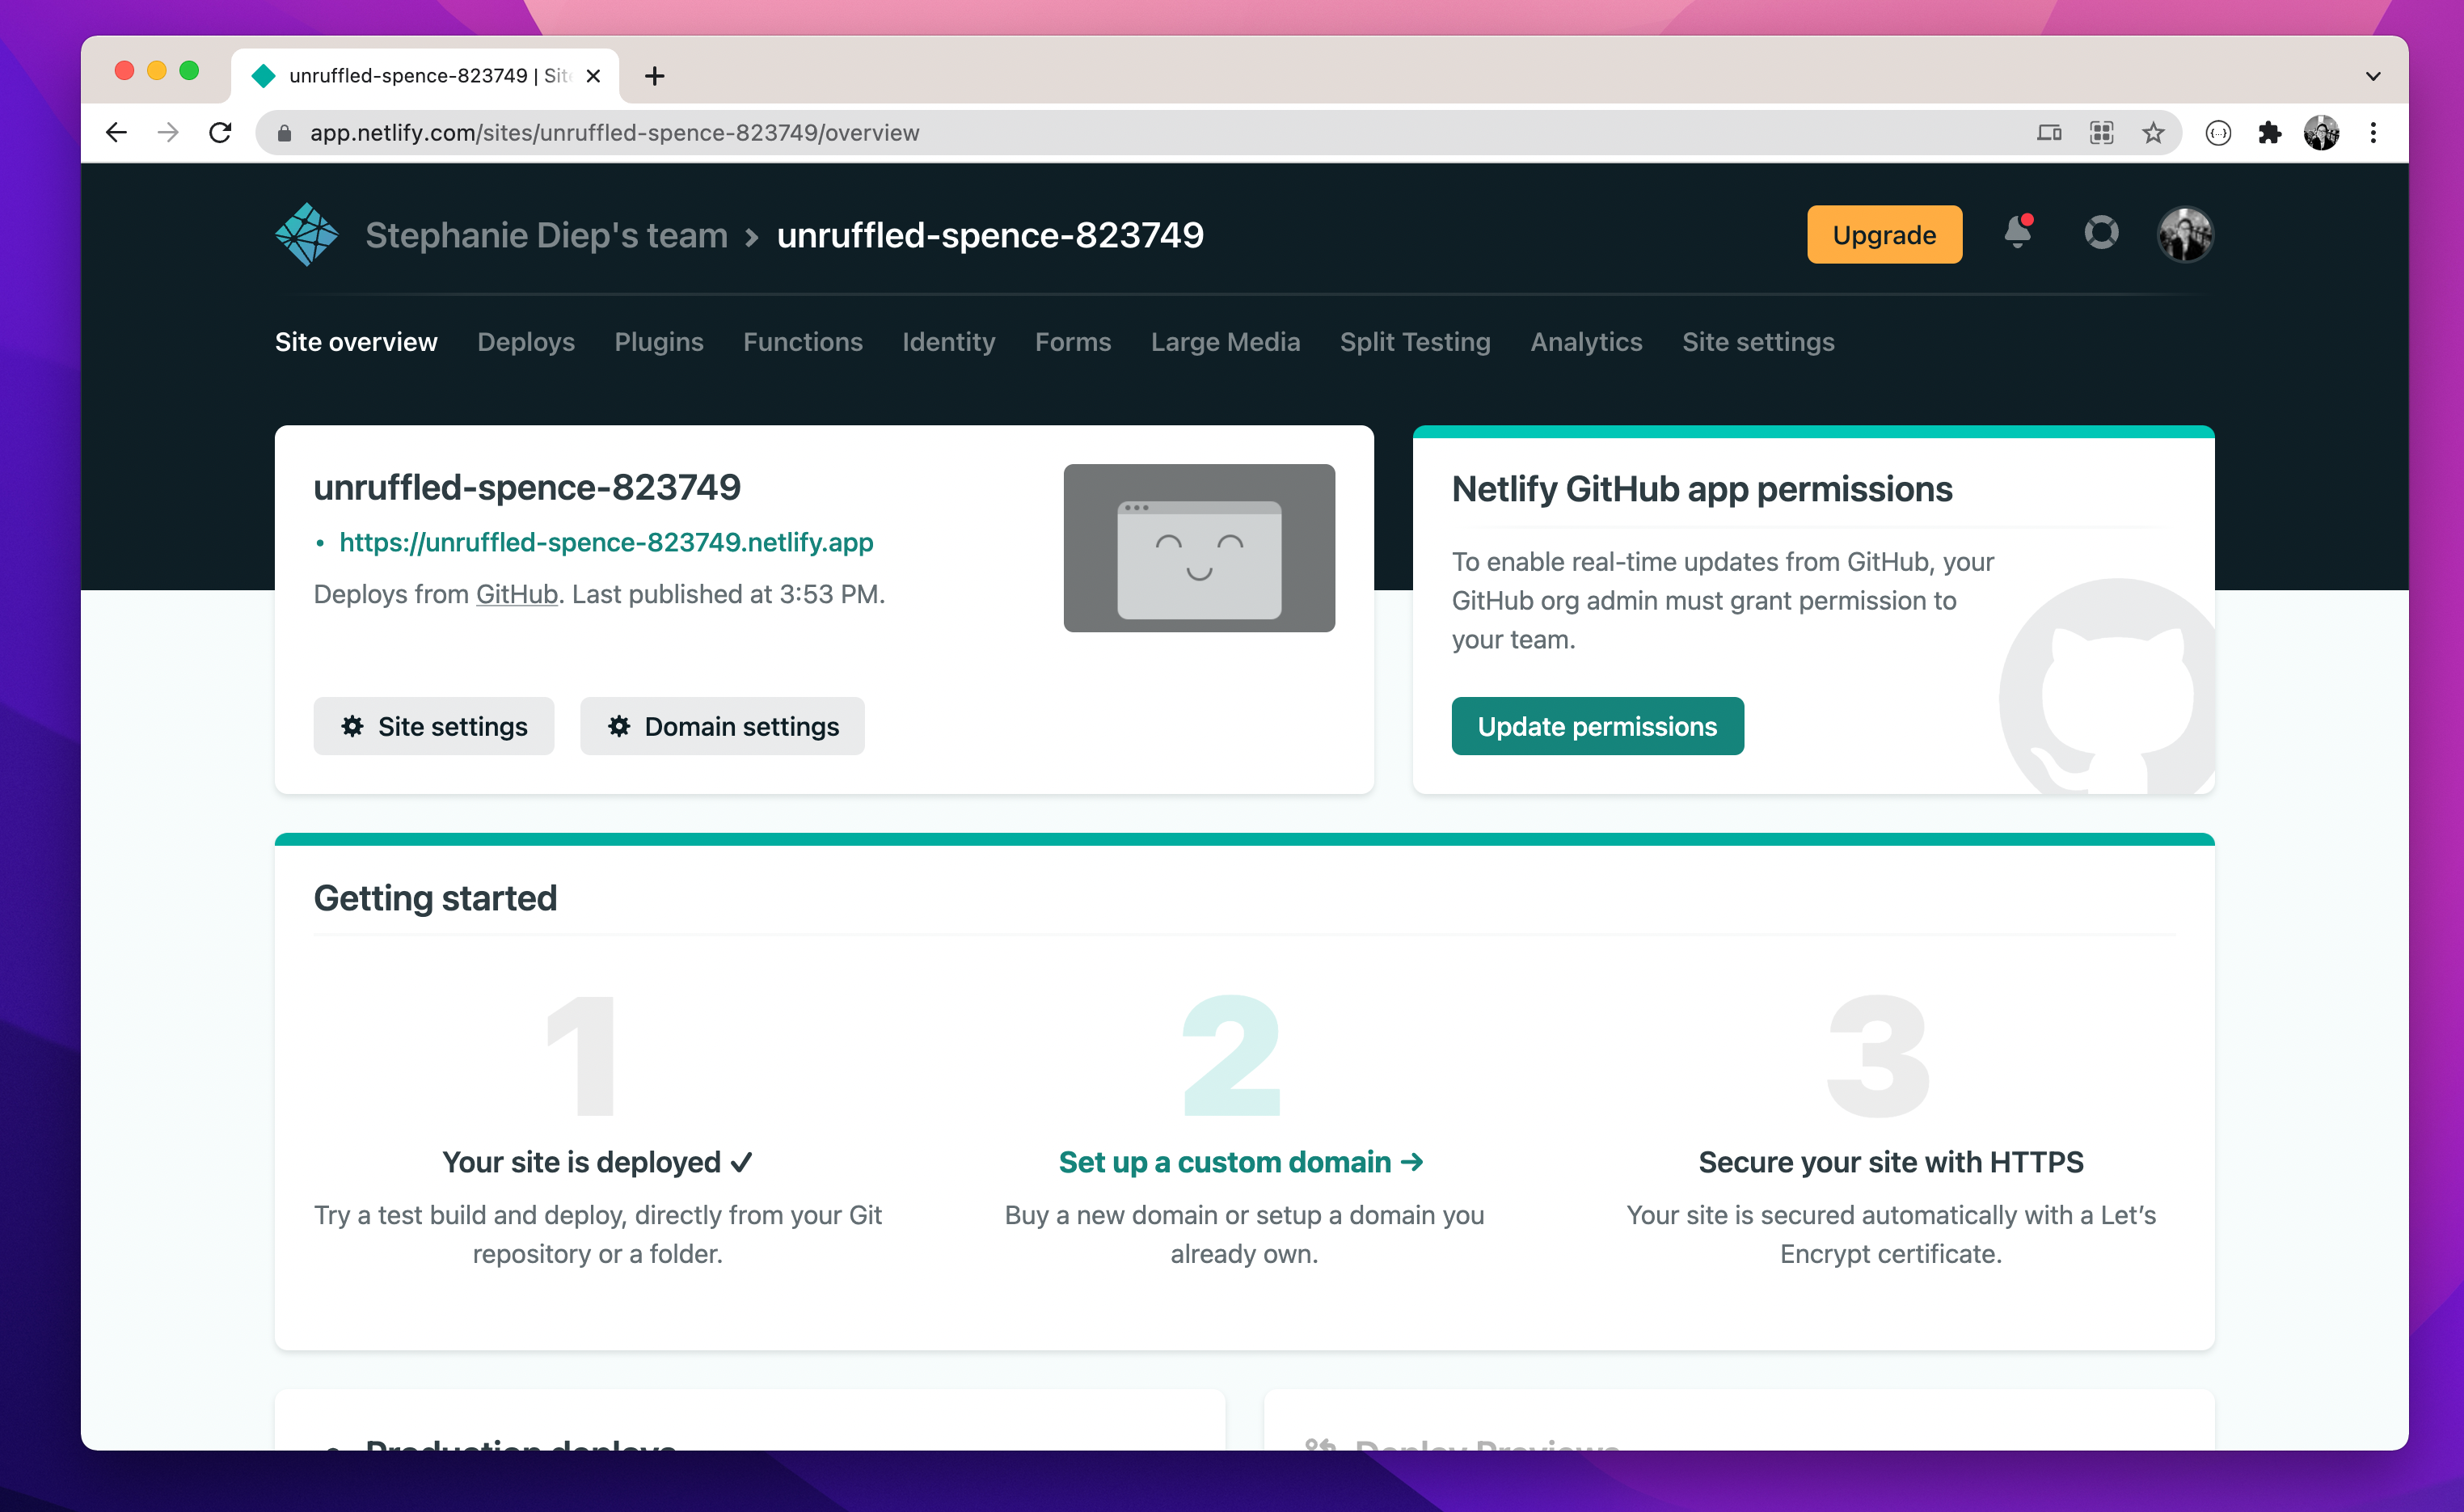 If you wish your application to be accessible at your-site-name.com , you'll need to configure your website more. In the Getting started section, you can click on Set up a custom domain and follow the instructions on screen to have a custom domain redirected to your Netlify site.
Great! We deployed our React application to production in just a few minutes. Now every time that we push to the master branch, a deploy will be generated and our website will be live in just a few minutes!
If you wish your application to be accessible at your-site-name.com , you'll need to configure your website more. In the Getting started section, you can click on Set up a custom domain and follow the instructions on screen to have a custom domain redirected to your Netlify site.
Great! We deployed our React application to production in just a few minutes. Now every time that we push to the master branch, a deploy will be generated and our website will be live in just a few minutes!
Learn with videos and source files. Available to Pro subscribers only.
Purchase includes access to 50+ courses, 320+ premium tutorials, 300+ hours of videos, source files and certificates.
Templates and source code
Download source files
Download the videos and assets to refer and learn offline without interuption.
Design template
Source code for all sections
Video files, ePub and subtitles
Videos
ePub
Assets
Subtitles
1
Intro to React Hooks
An overview of React Hooks and the frameworks you can use to build your React application blazingly fast
3:39
2
Create your first React app
Create your first React project from the Terminal and save it on your local computer
4:23
3
React Component
Create your first JSX component using React
2:54
4
Styling in React
How to style your React components using inline styling, separate stylesheets or styled-components
5:06
5
Styles and Props
Render different styles depending on different properties passed to your component
2:22
6
Understanding Hooks
Learn about the basics of React Hooks, which introduced at React Conf 2018
3:21
7
useState Hook
Use the useState hook to manage local state in your React component
2:54
8
useEffect Hook
Manage with your component's lifecycle with the useEffect hook
3:41
9
useRef Hook
Learn about the useRef hook, which replaces the JavaScript getElementById way
3:00
10
Props
Learn about props in React to pass data from parent to child components
3:11
11
Conditional Rendering
Render different UIs depending on different conditions and states
4:21
12
Load Local Data
Load local JSON data into your React application
4:04
13
Fetch Data from an API
Learn the basics of asynchronous functions and promises by fetching data from an API using fetch, useEffect and useState
5:40
14
Toggle a state
Learn how to toggle a state from true to false and back again
4:05
15
useInput Hook
Create a hook to get the value and the onChange event of input fields
6:04
16
Gatsby and React
Create a static content-oriented website using React on Gatsby
6:44
17
NextJS and React
Create your first NextJS React application
5:24
18
React TypeScript Part 1
Learn how to create a React TypeScript application using the Create React App, Gatsby and NextJS methods
8:19
19
React TypeScript Part 2
Learn the basics of TypeScript and how to use TypeScript in a React component
7:35
20
useScrollPosition Hook
Create a custom hook to listen to the current window position of the user
4:26
21
useOnScreen hook
Create a custom hook to listen to when an element is visible on screen
8:08
22
useContext Hook
Manage global states throughout the entire application
8:32
23
Fragments
Group multiple children together with React Fragments
2:43
24
Lazy Loading
Lazy Load heavy components to improve performance
4:05
25
React Suspense
Wait for data with React Suspense and React.lazy
3:13
26
Environment Variables
Make environment variables secret with a .env file
4:43
27
Reach Router
Create a multiple-pages React application with Reach Router
5:31
28
URL Params
Create unique URL with URL Params
4:04
29
SEO and Metadata
Optimize a React application for search engines with React Helmet
6:47
30
Favicon
Add an icon to a React website
3:03
31
Dynamic Favicon
Change the favicon's fill color depending on the user's system appearance
2:14
32
PropTypes
Implement props type-checking with PropTypes
3:54
33
Custom PropTypes
Create a custom PropType using a validator function
3:58
34
useMemo Hook
Prevent unnecessary re-renders when the component stays the same
4:05
35
forwardRef Hook
Forward a ref to a child component
3:28
36
Handling Events
How to handle events in React
5:44
37
Spread attributes
Learn how to make use of the spread operator
3:35
38
useMousePosition Hook
Detect the user's mouse position on a bound element
4:55
39
useReducer with useContext Part 1
Create a reducer to be used in a context
7:33
40
useReducer with useContext Part 2
Incorporate useReducer with useContext
6:48
41
useReducer with useContext Part 3
Connect the context and reducer with the frontend
5:43
42
Netlify
Deploy to production using Netlify
5:08
43
Gatsby Cloud
Deploy to production using Gatsby Cloud
6:19
44
Gatsby Plugin Image
Use gatsby-plugin-image for automatic image resizing, formatting, and higher performance
8:11
45
useOnClickOutside Hook
Toggle a modal visibility with a useOnClickOutside hook
6:32
46
useWindowSize Hook
Create a hook to determine the width and height of the window
4:14
47
usePageBottom hook
Detect if the user scrolled to the bottom of the page
4:48
48
useLocalStorage Hook
Store an item in a browser's local storage
5:27
49
Three.js in React Part 1
Bring your website to life with beautiful 3D objects
17:33
50
Three.js in React Part 2
Bring your website to life with beautiful 3D objects
11:18
Meet the instructor
We all try to be consistent with our way of teaching step-by-step, providing source files and prioritizing design in our courses.
Stephanie Diep
iOS and Web developer
Developing web and mobile applications while learning new techniques everyday
7 courses - 36 hours
Build Quick Apps with SwiftUI
Apply your Swift and SwiftUI knowledge by building real, quick and various applications from scratch
11 hrs
Advanced React Hooks Handbook
An extensive series of tutorials covering advanced topics related to React hooks, with a main focus on backend and logic to take your React skills to the next level
3 hrs
SwiftUI Concurrency
Concurrency, swipe actions, search feature, AttributedStrings and accessibility were concepts discussed at WWDC21. This course explores all these topics, in addition to data hosting in Contentful and data fetching using Apollo GraphQL
3 hrs
SwiftUI Combine and Data
Learn about Combine, the MVVM architecture, data, notifications and performance hands-on by creating a beautiful SwiftUI application
3 hrs
SwiftUI Advanced Handbook
An extensive series of tutorials covering advanced topics related to SwiftUI, with a main focus on backend and logic to take your SwiftUI skills to the next level
4 hrs
React Hooks Handbook
An exhaustive catalog of React tutorials covering hooks, styling and some more advanced topics
5 hrs
SwiftUI Handbook
A comprehensive series of tutorials covering Xcode, SwiftUI and all the layout and development techniques
7 hrs