
Homepage Screen
Add to favorites
Design a homepage using curved layout for a camera photo editing app
Play video
UI Design a Camera App in Figma

Homepage Screen
Duplicate the Onboarding frame and delete everything except the Status Bar and the Home Indicator. We will add a top navigation section.
- Add a frame 393x44, rename Top Navigation
- Search the person and plus icons in the SF Symbols Browser plugin or copy them from the Assets page
- Add each icon in an auto-layout, fixed width 44 and fixed height 44, center alignment.
- Name the layer Account, X: 285, Y: 0
- Name the layer Plus, X: 329, Y: 0
- Add text My Studio, bold, size 20, color white, auto width, align left, X: 147, Y: 8

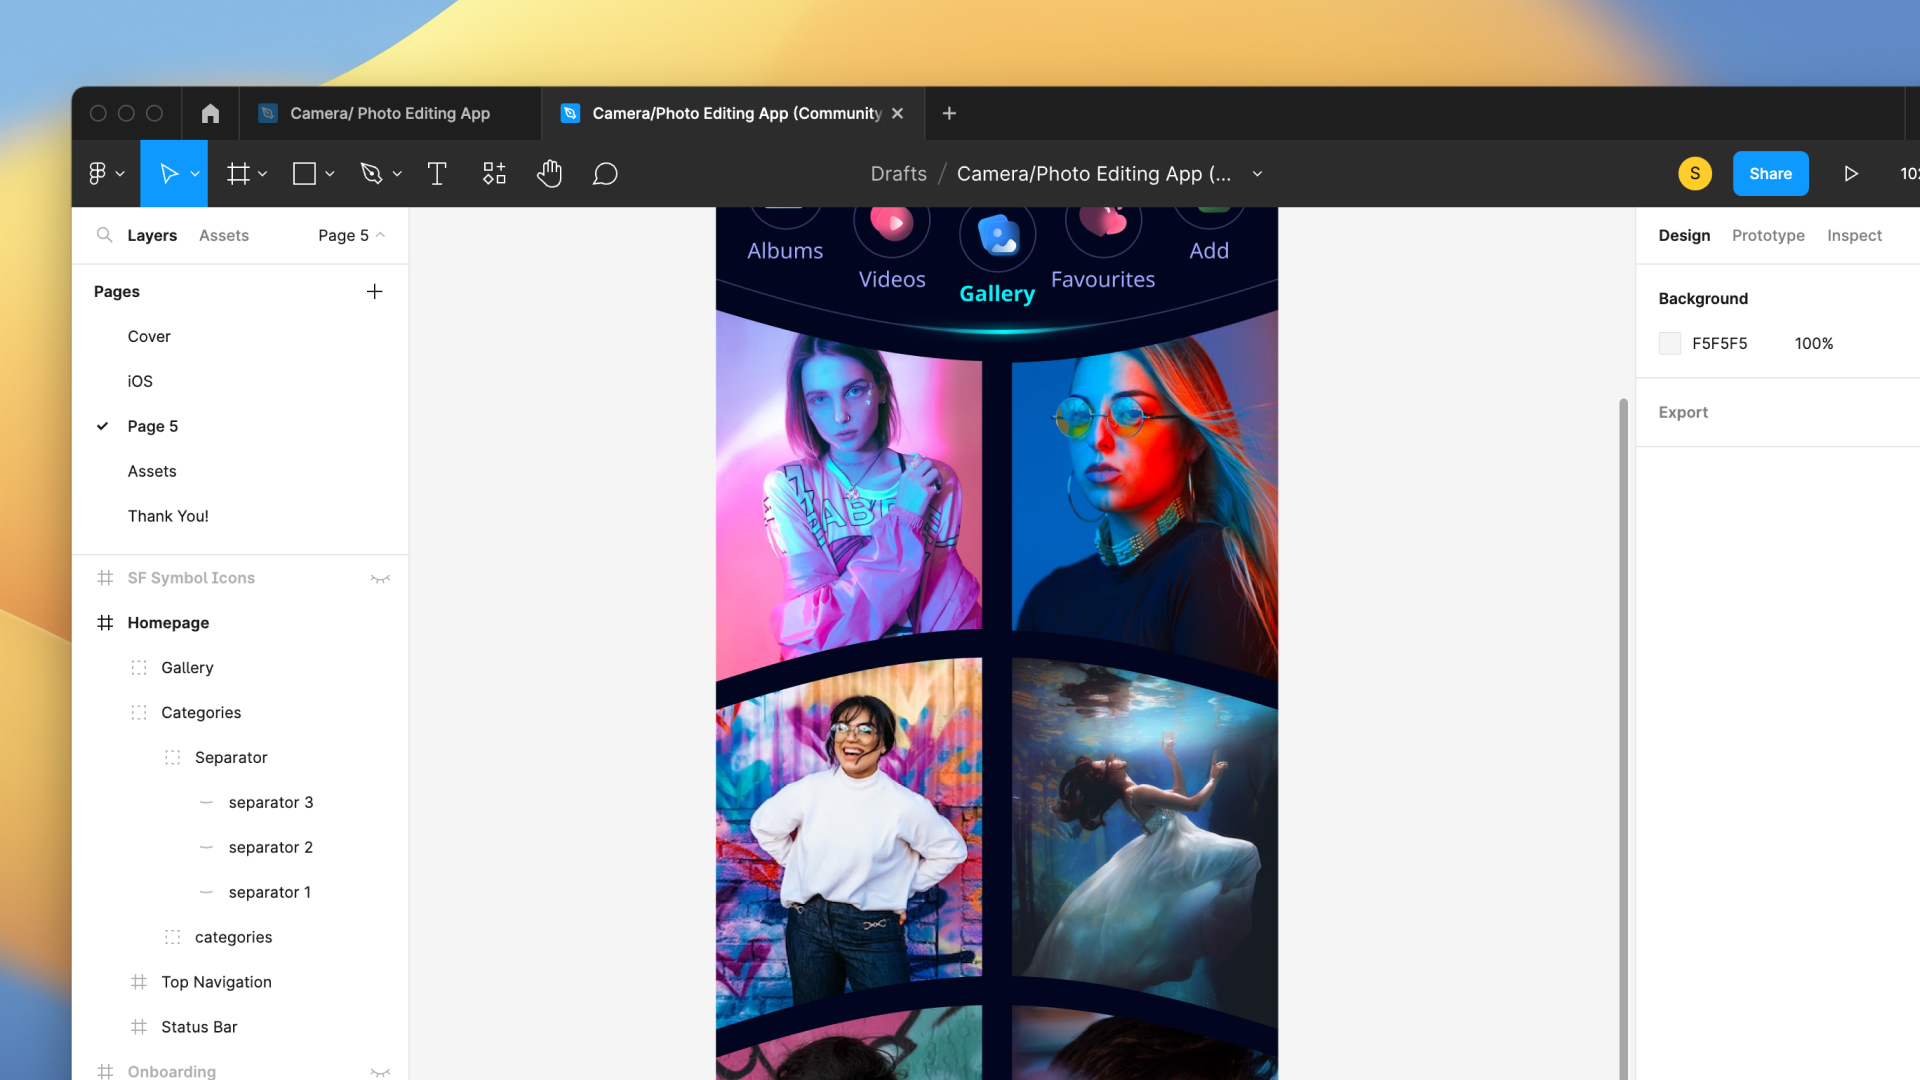
For the categories section, we will use glass icons from **Iconly 2 - Glass Icons and **Glassmorphism Style Icons or you copy them directly from the Assets page.
- Create a frame 74x78, rename by Album and inside the frame, create a circle 54x54
- Add stroke to the circle; color #6E68A7, 50%, outside, rename by Base.
- Place the album glass icon over and on top of the circle, group them together and name by Icon, spacing 24 from the bottom.
- Create a frame 74x20, write Album, regular, size 15, color #A0A9FC, auto width, align left
- Duplicate 4 more times, change the icon, text and layer’s name

To create a selected effect, we will add a glowing neon separator.
- Create a line of 393, go to edit object and select the bend tool and press on the middle of the line and move down
- Change the height size to 37, duplicate and name the two lines Separator 1 and Separator 2
- Separator 1; color #A0A9FC, 30%, width 1
- Separator 2; add 5 colors in horizontal direction, color #08F7FE, opacity to 0%, 20%, 100%, 20%, 0%, width 3
- Duplicate the Separator 2, rename by Separator 3, add effect, layer blur 8
- Group everything and name Separator
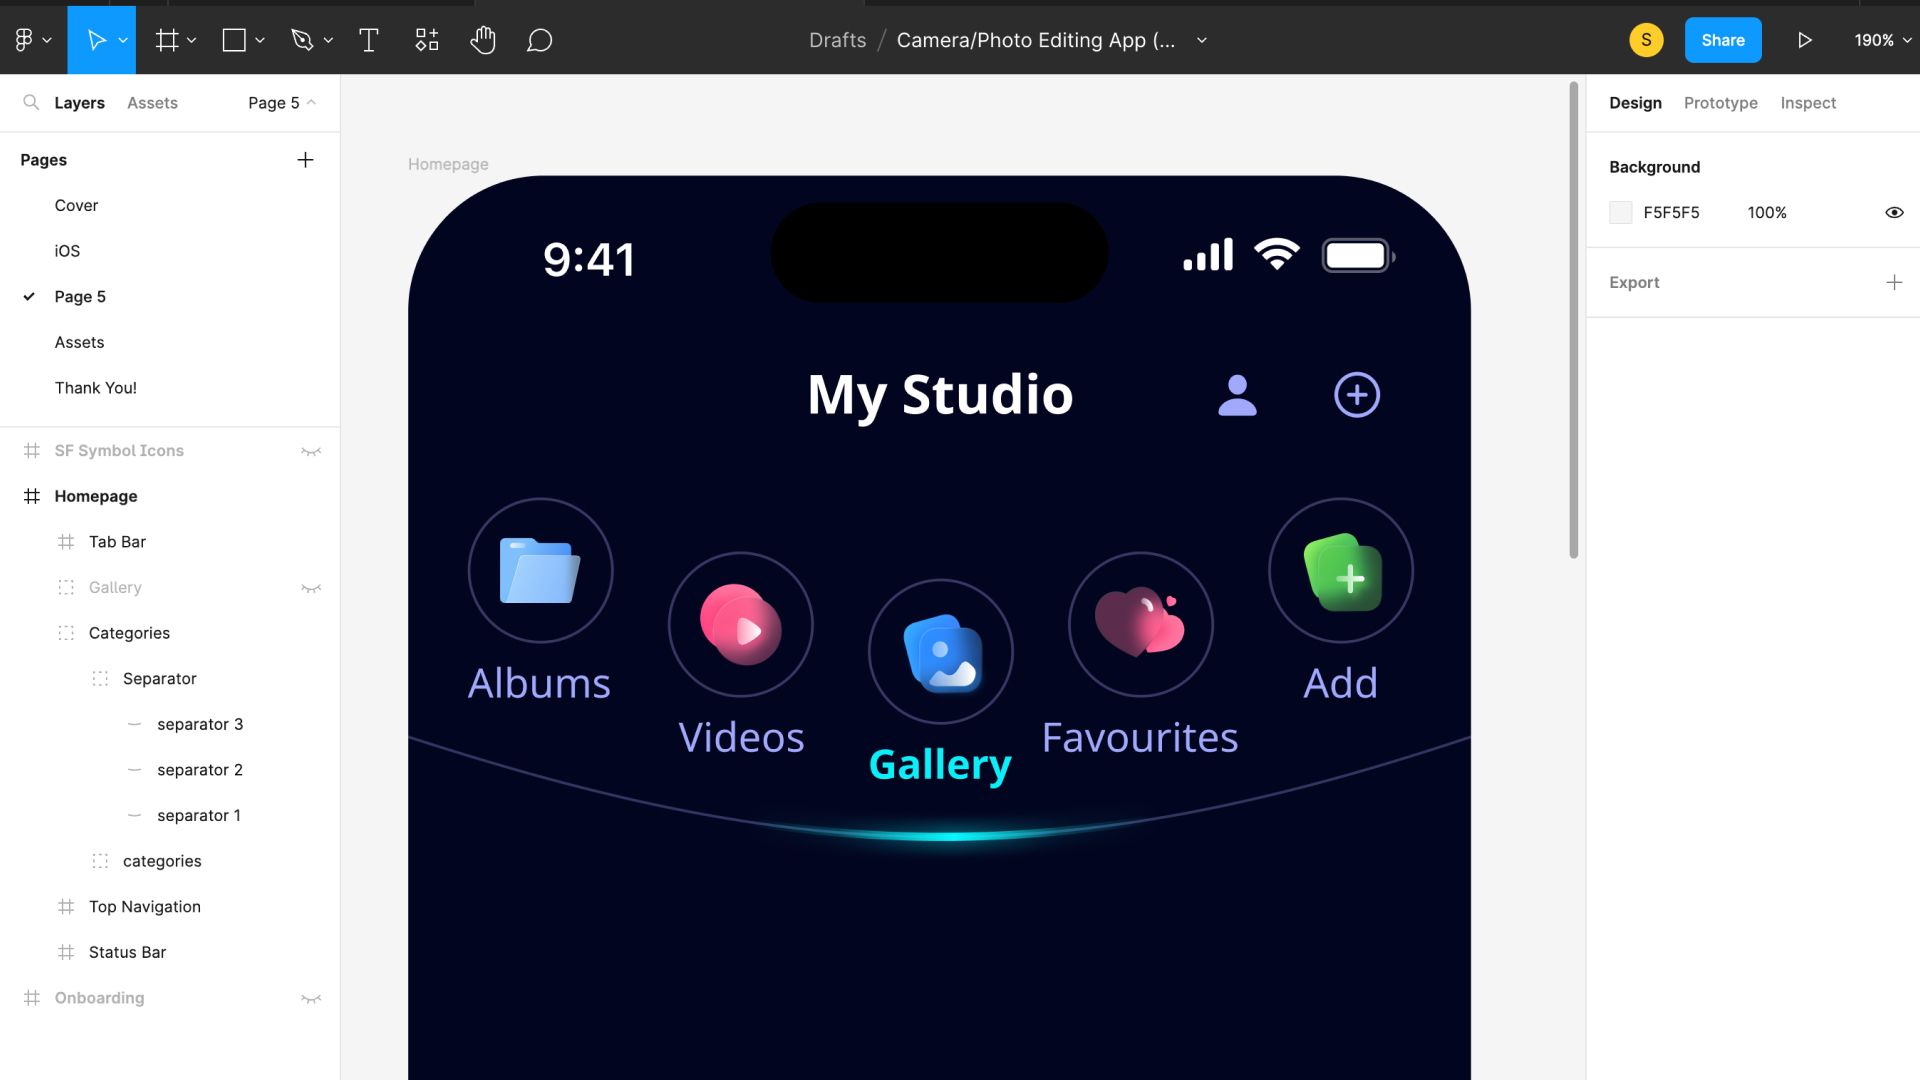
Let’s add a curved effect to our categories section.
- Create a rectangle 393x260, duplicate the Separator 1, rename Guide 1 and place it on top of the rectangle
- Duplicate, rename Guide 2, rotation 180 and place it at the bottom of the rectangle
- Select the rectangle, go to edit object, play with the bend tool to have the same curves as the 2 separators
- Create a rectangle 207x160, align left with the bigger rectangle
- Select the two rectangles, go to boolean groups, subtract selection
- Duplicate, rotation 180 and flatten the two subtract shapes
- Create a rectangle 393x260 and duplicate and put it aside for now
- Place Guide 2 on the top and duplicate it, place at the bottom of the rectangle
- Create a rectangle 207x160, align left with the rectangle, go to boolean groups, subtract selection
- Use the rectangle that was set aside, create a rectangle 207x160, align left with the rectangle, go to boolean groups, subtract selection
To match our design, we will create a custom curved tab bar.
- Create a rectangle 393x111, linear fill; top color #7971B5, bottom color #02051F,
- Add linear stroke; add 4 colors, color white, opacity 0%, 100%, 100% and 0%, vertical direction, rename Base
- Select photo fill on rectangle fill, slider horizontal 3 and camera fill icons from the SF Symbol Browser plugin
- Place each icon in an auto-layout of 44x44, rename by Studio, Edit and Camera
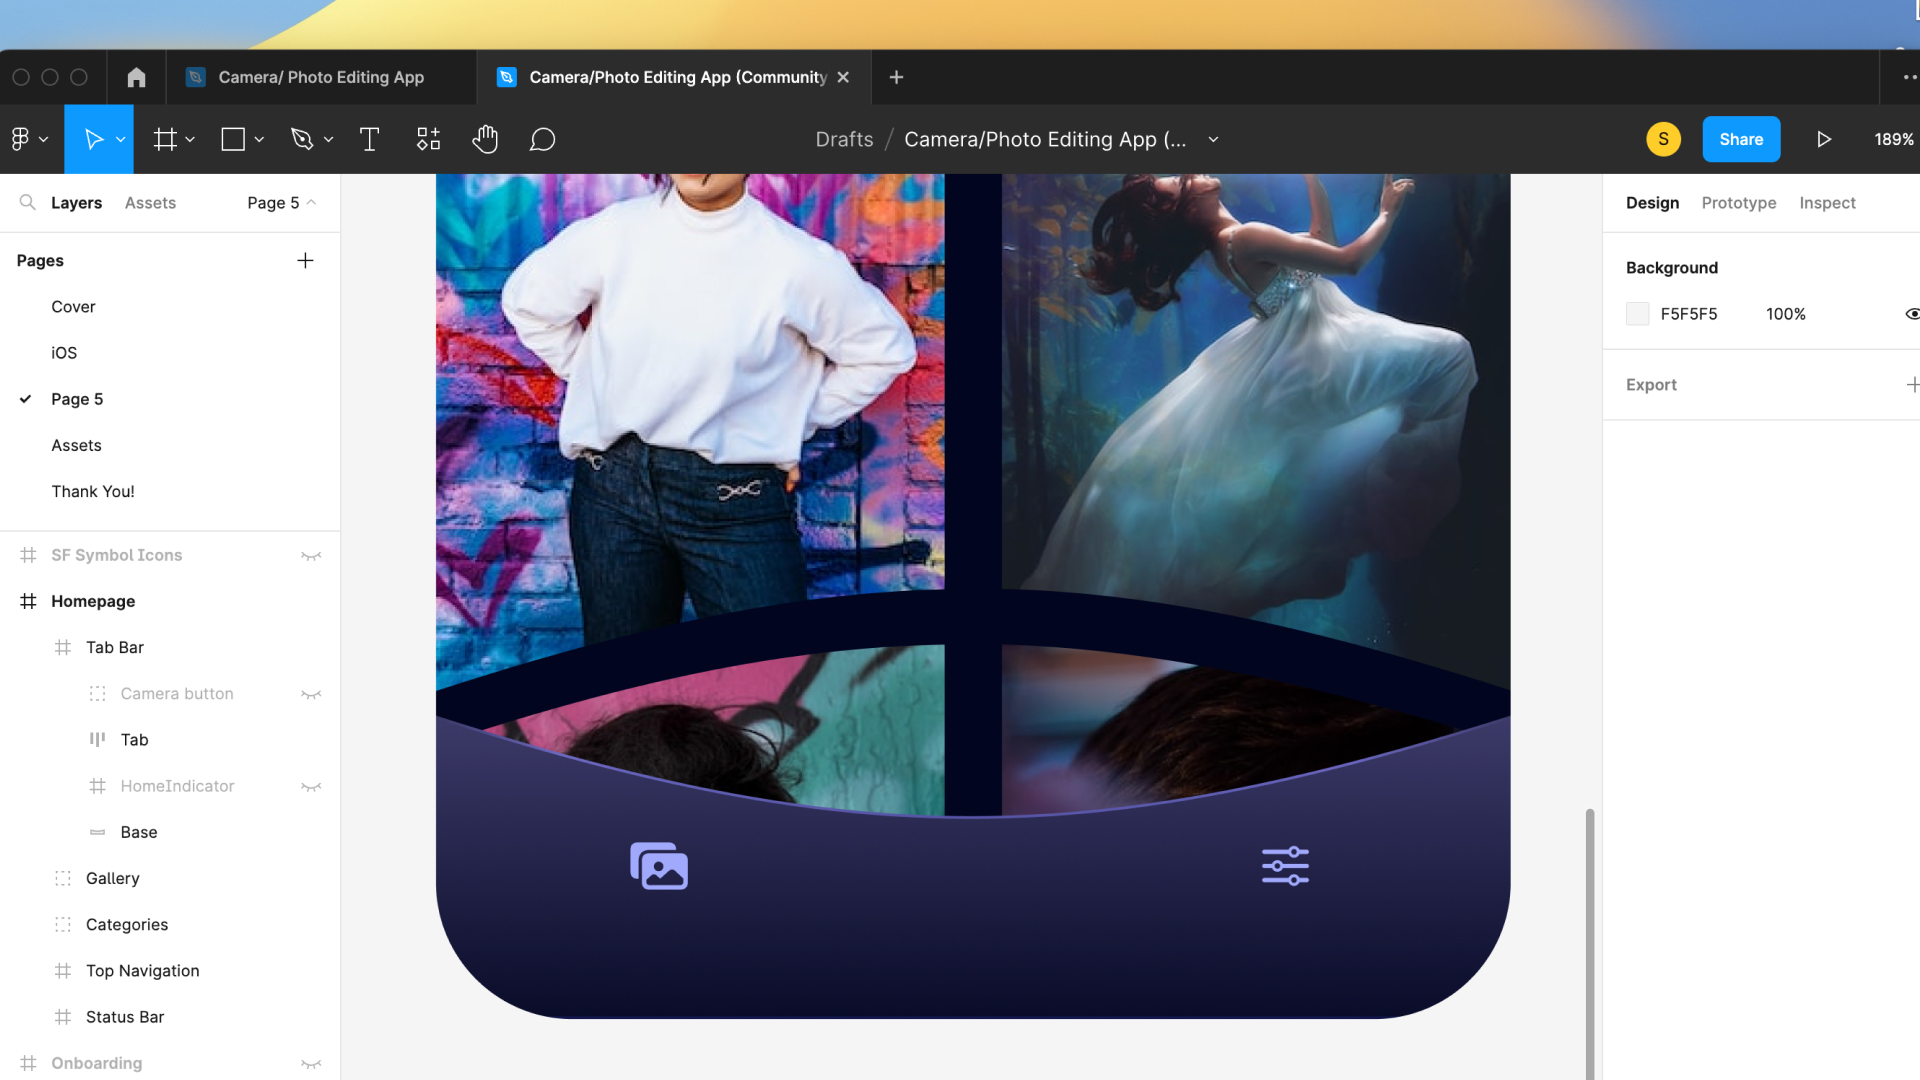
We will create a hole in the button and make like the icon is floating. The gradient color in the stroke will be moving in a circular motion.
- Create a circle 74x74 , copy the properties of the button from the onboarding page and paste properties to the circle
- Duplicate, add effect, layer blur 8
- Create a circle 54x54 (This circle will create the hole effect), linear fill; top color #0A0D2A, bottom color #454377
- Add effect, inner shadow; X: -2, Y: -2, blur: 4, color #545383
- Add effect, inner shadow; X: 4, Y: 4 and blur: 4, color black, 25%
- Put the camera icon on top, add effect, drop shadow; X: 0, Y: 10, blur: 10, color black, 50%
- Group the three circles and the icon, rename by Camera Button, X: 160, Y: 0

We are done with the homepage screen. Let’s continue with the mode screen.
Templates and source code
Download source files
Download the videos and assets to refer and learn offline without interuption.
Design template
Source code for all sections
Video files, ePub and subtitles
Videos
Assets
1
Onboarding Screen
Design an onboarding screen for a camera photo editing app
7:10
2
Homepage Screen
Design a homepage using curved layout for a camera photo editing app
14:42
3
Mode Photo / Portrait
Design a mode photo and portrait screen for a camera photo editing app
11:12
4
Brightness, Crop and Rotate
Design the Brightness / Crop and Rotate feature for a camera photo editing app
9:23
5
Edit and Filters
Design an edit and filter screen for a camera photo editing app
7:20
Meet the instructor
We all try to be consistent with our way of teaching step-by-step, providing source files and prioritizing design in our courses.
Sourasith Phomhome
UI Designer
Designer at Design+Code
19 courses - 72 hours
Master AI Prompting for Stunning UI
Learn how to leverage AI tools like Aura for creating beautiful designs, working with templates, and experimenting with advanced prompts. A concise guide for designers and developers to level up their skills.
10 hrs
Design Multiple Apps with Figma and AI
In this course, you’ll learn to design multiple apps using Figma and AI-powered tools, tackling a variety of real-world UI challenges. Each week, a new episode will guide you through a different design, helping you master essential UI/UX principles and workflows
4 hrs
SwiftUI Fundamentals Handbook
A comprehensive guide to mastering Swift programming fundamentals, designed for aspiring iOS developers. This handbook provides a structured approach to learning Swift's core concepts, from basic syntax to advanced programming patterns. Through carefully sequenced chapters, readers will progress from essential programming concepts to object-oriented principles, building a solid foundation for SwiftUI development. Each topic includes practical examples and clear explanations, ensuring a thorough understanding of Swift's capabilities. This handbook serves as both a learning resource and a reference guide, covering fundamental concepts required for modern iOS development. Topics are presented in a logical progression, allowing readers to build their knowledge systematically while gaining practical programming skills.
2 hrs
Design and Code User Interfaces with Galileo and Claude AI
In this course, you’ll learn how to use AI tools to make UI/UX design faster and more efficient. We’ll start with Galileo AI to create basic designs, providing a solid foundation for your ideas. Next, we’ll refine these designs in Figma to match your personal style, and finally, we’ll use Claude AI to turn them into working code—eliminating the need for traditional prototyping.
4 hrs
Design and Prototype for iOS 18
Design and Prototype for iOS 18 is an immersive course that equips you with the skills to create stunning, user-friendly mobile applications. From mastering Figma to understanding iOS 18's latest design principles, you'll learn to craft two real-world apps - a Car Control interface and an AI assistant.
3 hrs
Master Responsive Layouts in Figma
Creating responsive layouts is a must-have skill for any UI/UX designer. With so many different devices and screen sizes, designing interfaces that look great and work well on all platforms is necessary. Mastering this skill will make you stand out in the field. In this course, we'll start from scratch to create this beautiful design using Figma. You'll learn how to make layouts that are easy to use and work well on any device. We'll cover key concepts and tools to help you master responsive design in Figma.
2 hrs
UI UX Design with Mobbin and Figma
Mobbin is a powerful tool for UI/UX designers seeking inspiration and innovative design solutions. This platform offers a vast collection of real-world mobile app designs, providing a treasure trove of UI elements and layouts.
2 hrs
3D UI Interactive Web Design with Spline
Learn to create 3D designs and UI interactions such as 3D icons, UI animations, components, variables, screen resize, scrolling interactions, as well as exporting, optimizing, and publishing your 3D assets on websites
3 hrs
Design and Prototype for iOS 17 in Figma
Crafting engaging experiences for iOS 17 and visionOS using the Figma design tool. Learn about Figma's new prototyping features, Dev Mode, variables and auto layout.
6 hrs
Design and Prototype Apps with Midjourney
A comprehensive course on transforming Midjourney concepts into interactive prototypes using essential design techniques and AI tools
8 hrs
iOS Design with Midjourney and Figma
Learn the fundamentals of App UI design and master the art of creating beautiful and intuitive user interfaces for mobile applications
1 hrs
UI Design for iOS, Android and Web in Sketch
Create a UI design from scratch using Smart Layout, Components, Prototyping in Sketch app
1 hrs
UI Design a Camera App in Figma
Design a dark, vibrant and curvy app design from scratch in Figma. Design glass icons, lens strokes and realistic buttons.
1 hrs
UI Design for iOS 16 in Sketch
A complete guide to designing for iOS 16 with videos, examples and design files
3 hrs
Prototyping in Figma
Learn the basics of prototyping in Figma by creating interactive flows from custom designs
1 hrs
UI Design Quick Websites in Figma
Learn how to design a portfolio web UI from scratch in Figma
1 hrs
UI Design Android Apps in Figma
Design Android application UIs from scratch using various tricks and techniques in Figma
2 hrs
UI Design Quick Apps in Figma
Design application UIs from scratch using various tricks and techniques in Figma
12 hrs
Figma Handbook
A comprehensive guide to the best tips and tricks in Figma. Not affiliated with or endorsed by Figma, Inc.
6 hrs